Photo Basics 2
Day 1
Introductions
Review of Photo Basics 1
Different Lighting – Before you can even begin to make decisions on your exposure settings you have to evaluate what kind of lighting environment you are in. Light is your paint, your pencil, your bricks, it’s the foundation of a photograph. On the first day he made light and then several hundred centuries later someone else made a camera. One fundamental thing to understand about light is the larger the source of the light the softer and more balanced the light will look. When light is diffused be it by the clouds in the sky, or a softbox on a strobe or a large white wall reflecting a flash this makes the light larger and more attractive. Small light sources, such as the sun on a clear day or a flash pointed directly at the subject it can produce harsh light where you see a lot of shadows and highlights on your subject, it is unflattering.
Natural Light Outdoors:
Direct Light/Front Light:
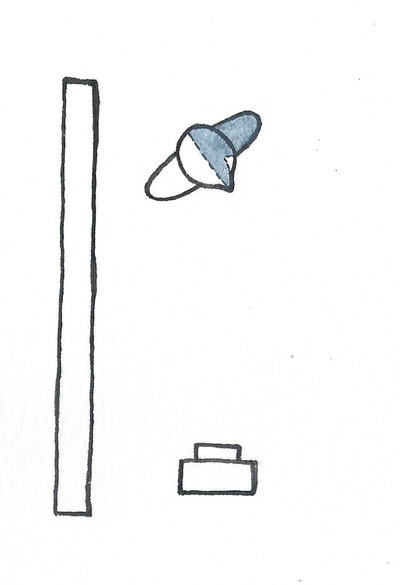
Direct light typically implies outdoors, midday with no clouds or shade. It is usually an undesired lighting environment as this type of light is harsh and unforgiving. It produces high contrast between high lights and shadows. If its midday and the light is direct overhead it will produce shadows in the eye sockets, under the nose and under the chin that are unflattering. It is a bad idea to photograph at this time of day without some kind of diffusion such as clouds or a scrim. Direct light works well in the morning or late afternoon when the sun is closer to the horizon.
Back Light:
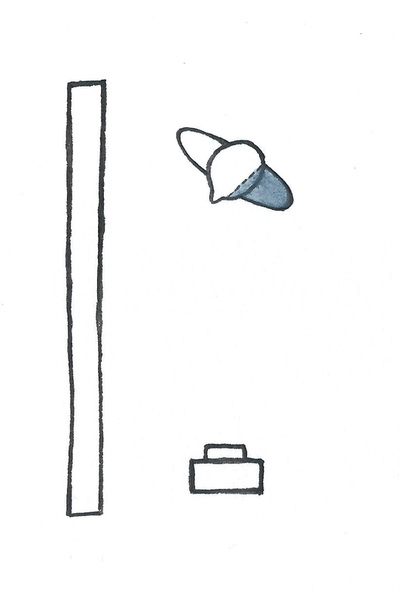
Back light can produce two different types of images. If you are in a backlight situation and you expose for your light source you will see your subject as a silhouette and sometimes that can be nice particularly in an engagement portrait where it can be cute to just show the outline or silhouette of the couple holding hands or kissing with a sunset or some other kind of light source behind them. The other type of image you can produce is one where you expose for your subject in which case the background where the light source is will be very overexposed and may totally blow out and become white. I use this technique far more often than I do the silhouette. It’s very simple, all you need is a window with a lot of light flowing in and it takes on a very studio looking clean portrait. If you want to show both the details of your subject and your background, perhaps you are shooting in front of a sunset or sunrise and you want to see the details of the clouds and sun and all the colors you will need to add a fill flash or strobe to your subject.
Overcast Light:
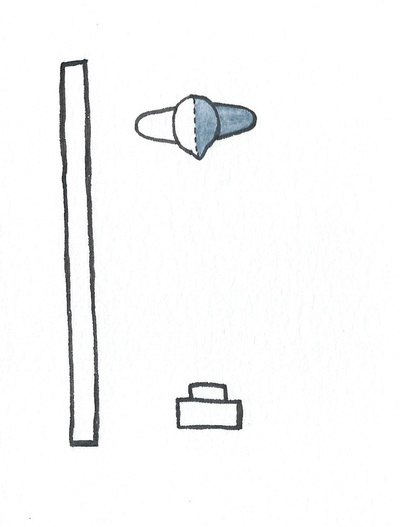
Overcast days are photographers favorite kind of days, as long as it doesn’t rain overcast is perfect. This is a soft light, it’s diffused. The entire sky is your light source not just the sun’s spotlight, the clouds are like a giant softbox over the sun and it produces a very balanced light on your subject. Your subject will be enveloped with light and there will be no harsh shadows and hot spots.
Open Shade:
Open shade is shade on a sunny day. It’s similar to overcast but a little darker. You are literally shooting in a shadow. It produces a really soft image, I really like shooting in open shade. If I am shooting midday at a wedding outdoors and my client want to do group shots or portraits I immediately look for the shade. Even if I have to divert my client from a backdrop they really like I know that the photograph will be more flattering in the shade and at the end of the day your client first and foremost wants to look good in the photograph. A photograph where the subject has unforgiving shadows all over their face is unusable even if the backdrop is pretty. In the background of your image there may be areas of direct light, for example if you are using the shade from a tree there will likely be areas in the background that are not shaded, these areas will overexpose. I happen to like that look, it can look ethereal and romantic. If you don’t like that overexposure and you want to show the details of the background you will need to add a fill flash to your subject.
Magic Hour:
Magic hour, also called golden hour, is not really an hour. When the sun is very near the horizon, for a very short period of time right before sunset or right after sunrise the light is very warm, very soft, it’s very beautiful. It has a reddish, very warm hue and looks very romantic.
Reflected Light:
For most occasions, particularly when photographing people, photographers want light that is spread out and balanced. When you use a reflector or in other words when you bounce your light you are making that light source larger, softer and more balanced. You could use the ceiling, the wall, an umbrella, a large white poster board or an actual reflector you bought from the camera store. It’s important to remember that whatever you are bouncing off of your light will reflect its color. If you bounce off of a red wall your photograph will have a red hue. It’s also good to remember that black does not reflect and it will absorb your light. White or silver is always your best reflective surface.
Synthetic Light:
White Balance:
Decision Making


