Photo Basics 2
Different Lighting – Before you can even begin to make decisions on your exposure settings you have to evaluate what kind of lighting environment you are in. Light is your paint, your pencil, your bricks, it’s the foundation of a photograph. On the first day he made light and then several hundred centuries later someone else made a camera. One fundamental thing to understand about light is the larger the source of the light the softer and more balanced the light will look. When light is diffused be it by the clouds in the sky, or a softbox on a strobe or a large white wall reflecting a flash this makes the light larger and more attractive. Small light sources, such as the sun on a clear day or a flash pointed directly at the subject it can produce harsh light where you see a lot of shadows and highlights on your subject, it is unflattering.
Natural Light Outdoors:
Direct Light/Front Light:
Direct light typically implies outdoors, midday with no clouds or shade. It is usually an undesired lighting environment as this type of light is harsh and unforgiving. It produces high contrast between high lights and shadows. If its midday and the light is direct overhead it will produce shadows in the eye sockets, under the nose and under the chin that are unflattering. It is a bad idea to photograph at this time of day without some kind of diffusion such as clouds or a scrim. Direct light works well in the morning or late afternoon when the sun is closer to the horizon.
Back Light:
Back light can produce two different types of images. If you are in a backlight situation and you expose for your light source you will see your subject as a silhouette and sometimes that can be nice particularly in an engagement portrait where it can be cute to just show the outline or silhouette of the couple holding hands or kissing with a sunset or some other kind of light source behind them. The other type of image you can produce is one where you expose for your subject in which case the background where the light source is will be very overexposed and may totally blow out and become white. I use this technique far more often than I do the silhouette. It’s very simple, all you need is a window with a lot of light flowing in and it takes on a very studio looking clean portrait. If you want to show both the details of your subject and your background, perhaps you are shooting in front of a sunset or sunrise and you want to see the details of the clouds and sun and all the colors you will need to add a fill flash or strobe to your subject.
Overcast Light:
Overcast days are photographers favorite kind of days, as long as it doesn’t rain overcast is perfect. This is a soft light, it’s diffused. The entire sky is your light source not just the sun’s spotlight, the clouds are like a giant softbox over the sun and it produces a very balanced light on your subject. Your subject will be enveloped with light and there will be no harsh shadows and hot spots.
Open Shade:
Open shade is shade on a sunny day. It’s similar to overcast but a little darker. You are literally shooting in a shadow. It produces a really soft image, I really like shooting in open shade. If I am shooting midday at a wedding outdoors and my client want to do group shots or portraits I immediately look for the shade. Even if I have to divert my client from a backdrop they really like I know that the photograph will be more flattering in the shade and at the end of the day your client first and foremost wants to look good in the photograph. A photograph where the subject has unforgiving shadows all over their face is unusable even if the backdrop is pretty. In the background of your image there may be areas of direct light, for example if you are using the shade from a tree there will likely be areas in the background that are not shaded, these areas will overexpose. I happen to like that look, it can look ethereal and romantic. If you don’t like that overexposure and you want to show the details of the background you will need to add a fill flash to your subject.
Magic Hour:
Magic hour, also called golden hour, is not really an hour. When the sun is very near the horizon, for a very short period of time right before sunset or right after sunrise the light is very warm, very soft, it’s very beautiful. It has a reddish, very warm hue and looks very romantic.
Reflected Light:
For most occasions, particularly when photographing people, photographers want light that is spread out and balanced. When you use a reflector or in other words when you bounce your light you are making that light source larger, softer and more balanced. You could use the ceiling, the wall, an umbrella, a large white poster board or an actual reflector you bought from the camera store. It’s important to remember that whatever you are bouncing off of your light will reflect its color. If you bounce off of a red wall your photograph will have a red hue. It’s also good to remember that black does not reflect and it will absorb your light. White or silver is always your best reflective surface.
Single Light Source Portraits
The primary source of subject illumination is usually called the main or key light. Although additional lights may be added to enhance a portrait, key lighting is usually performed independently. This is great news for those trying to learn portrait lighting, because it means one can ease into the process one light at a time. Much can be achieved with a single light source.
|
A. Rembrant Light
|
B.Short Light
|
C.Split Light
|
Excellent resource for Rembrandt explanation:
http://www.cambridgeincolour.com/tutorials/portrait-lighting.htm
http://www.cambridgeincolour.com/tutorials/portrait-lighting.htm
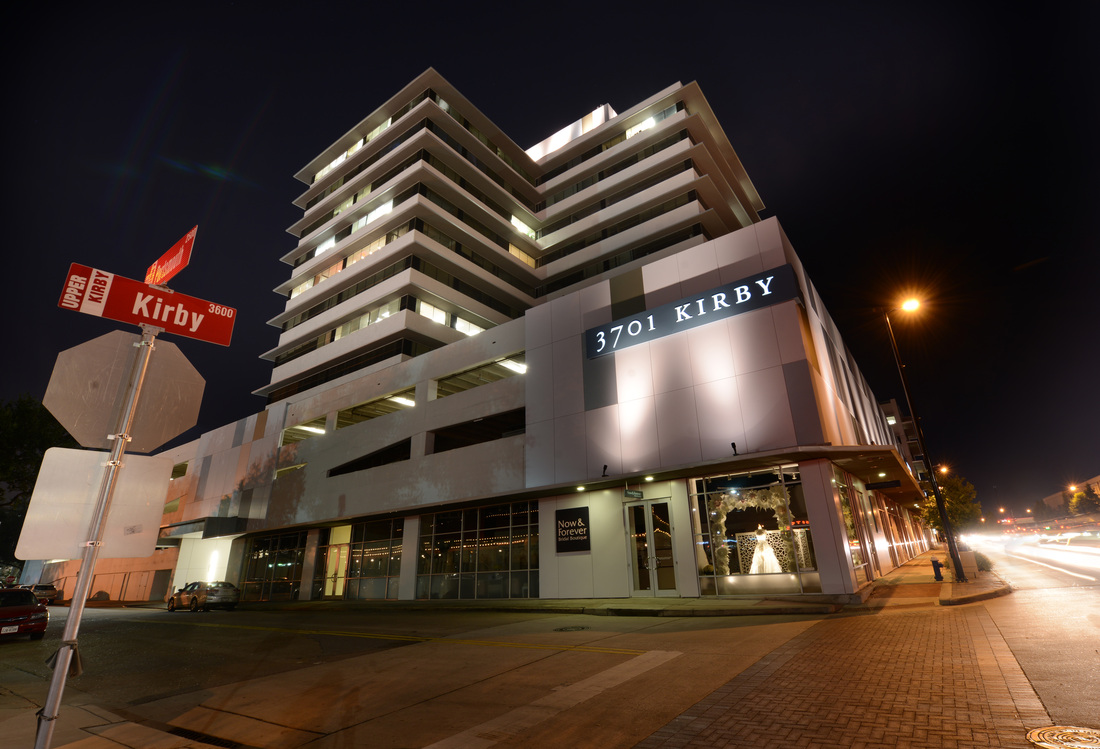
Long Exposure/Layer Stacking/Shooting HDR (high-dynamic range)
WITHOUT PHOTOSHOP
First-What is HDR: IT's a technology in imaging where multiple exposures are taken of the same subject and then stacked together producing one image where all the ideal exposures from each individual image are averaged into one.
Without Photoshop: Some of the newer cameras, such as the D800 have an HDR option in the Menu. You can set it to take a series of photos with different brackets and stack them in an instant. I like the HDR menu option. It does not seem to produce the crazy psychedelic HDR photos I've seen around. It seems to just produce a much brighter final image and is useful in low light.
EV stands for exposure value and it represent full stops between exposures. You want to set your initial exposure for the brightest part of the photos.
See Images Below.
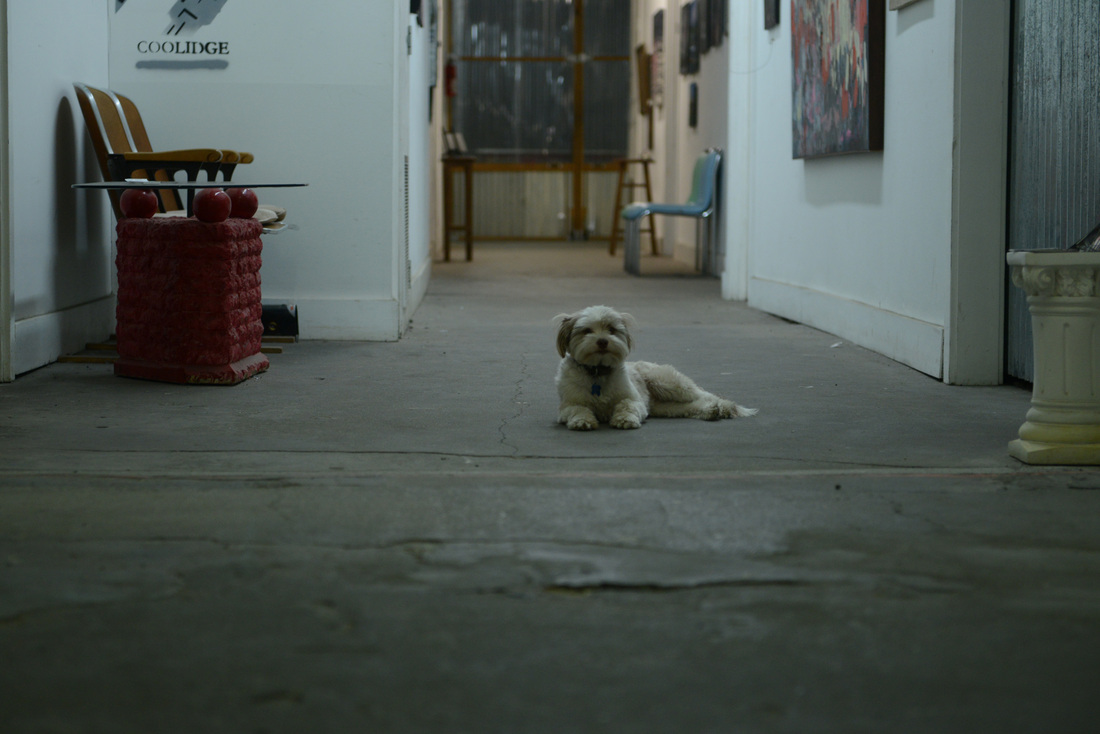
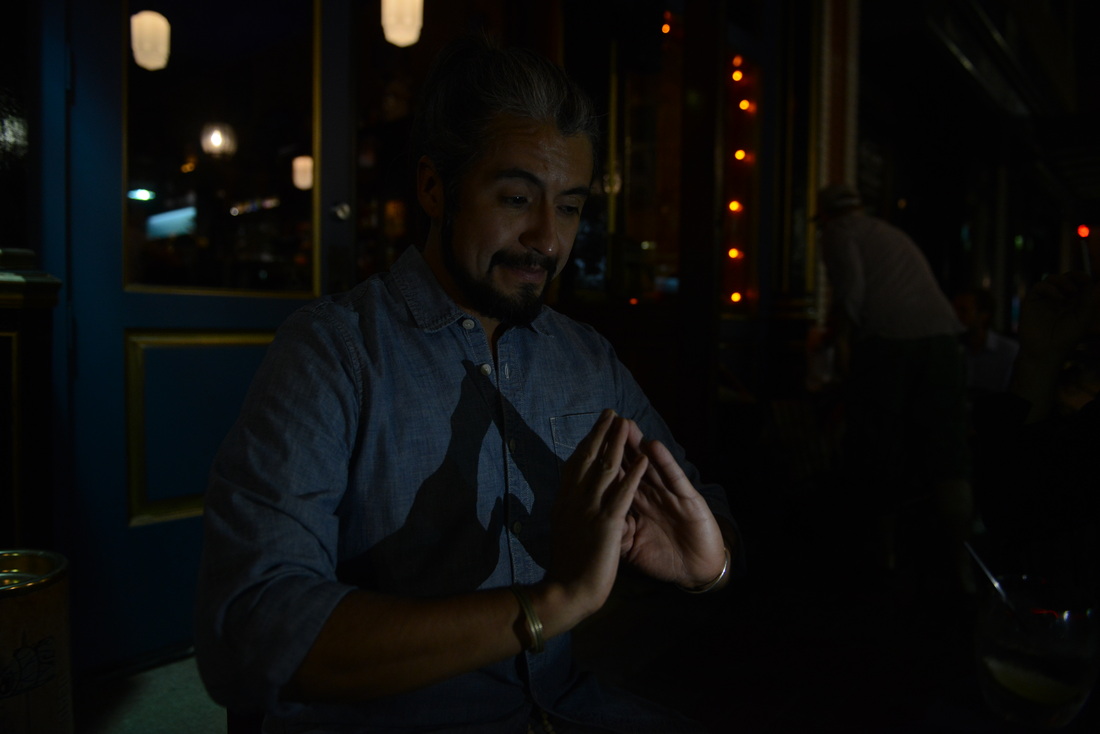
The first photo is a single images exposed essentially for the background where there was a bright light source.
My settings are:
f/2.8
SS/125
ISO/1000
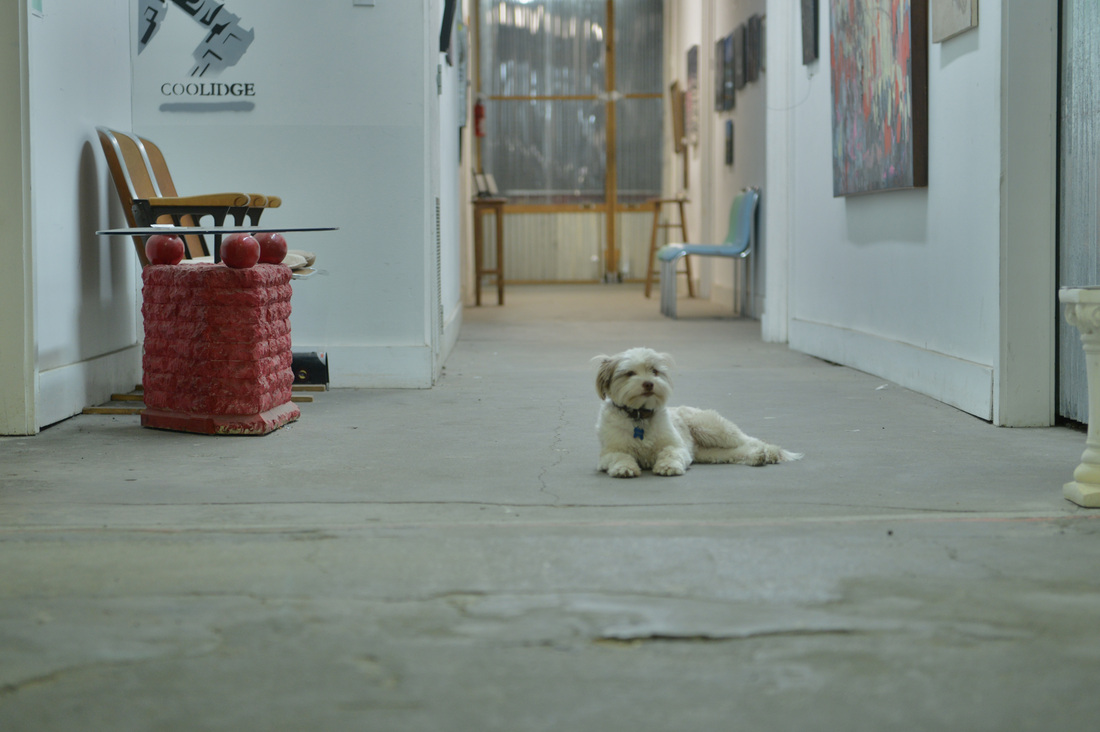
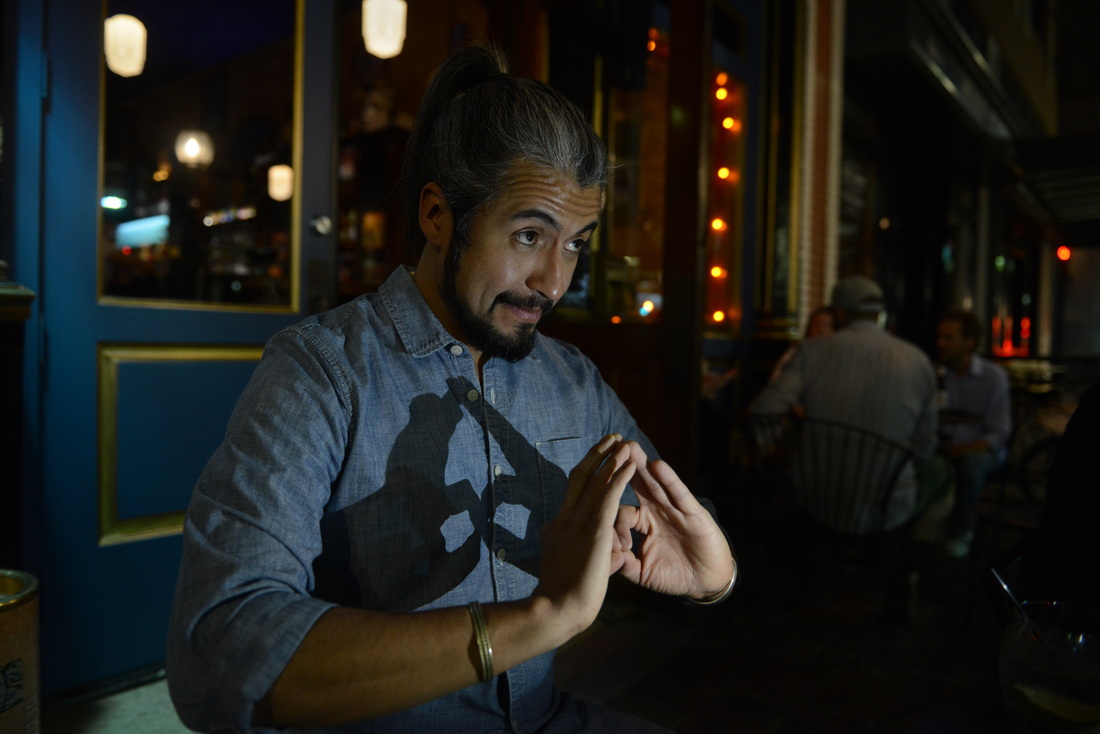
The second image to the right has been taken with the same exposure but with the camera set to HDR and the exposure differential at 3EV. When this feature is used it brackets and records a series of images where each image has an ideal exposure for the different areas of the image, they are then stacked together.
In the above Images my initial single exposure (image to the left) is set at
f/2.8
SS/125
ISO 2000
The second image is the same setting but with my HDR option turned on with 3EV
f/2.8
SS/125
ISO 2000
The second image is the same setting but with my HDR option turned on with 3EV
WITH PHOTOSHOP
When you are shooting something, for example, a portrait in open shade, there may be a variation of exposure between your foreground and background, the difference may be just a few stops difference. Using HDR layer stacking in Photoshop can help you with a more balance overall end image. You will take multiple exposures of the same scene, you can do this with auto setting or manually and then you will stack those images together in photoshop. It's easier than it sounds.
AUTO-BRACKETING
Set your Auto bracketing set to AE. Under the Custom Menu Setting, select e Bracketing/flash and then e5 Auto bracketing set. I keep mine set to AE only.
Still under the Bracketing/flash Custom Menu Setting, select e7 Bracketing Order. I set mine to Under > MTR > over. This setting doesn't affect your ability to shoot an automatic exposure bracketing (AEB) set of images, but I find it makes organizing the files easier later on.
Once you've made the above settings, there isn't a real need to change them again unless you have a specific purpose in mind. These settings probably won’t affect your general, non-HDR shooting.
Set the exposure value (EV) spacing between images and the number of frames to capture for an automatically-bracketed set of exposures. Hold down the BKT button and rotate the sub-command wheel (the one on the front) until the LCD screens reads 1.0 in the upper right-hand corner. This represents a full 1 stop spacing between each exposure in your set and is the maximum the D800 allows (the D7000 allows a maximum of 2 stops). This is also a setting I never change. Your camera will remain at the 1 stop spacing unless you change it at some point.
To set the number of exposures to capture, hold down the BKT button and rotate the main command wheel (the one on the back of the camera, under your thumb) until you see 7F appear in the upper middle of the LCD screen. This means that your camera will automatically bracket 7 exposures with 1 EV spacing between each one, giving a range of exposures from -3 to +3 EV. The D800 allows you to take a 9-frame series, but I have yet to find a scene that requires the extra exposure range to capture everything. Remember, the dynamic range of a single exposure with this camera is about 11 stops at 100 ISO.
Now that you have the camera set to take 7 exposures automatically at 1 EV spacing, all you have to do is tell the camera to take them. You could set your release mode dial to continuous-high (Ch) and hold down the release button until all the exposures are made, but that means touching the camera during the shots. I do not recommend this method of firing the shots.
Remember that you have already set up your camera to take 7 exposures automatically at 1 EV spacing. This is just an alternative way to fire off those 7 exposures that some people use. Access the Self-timer menu option c3. Set the Self-timer delay to the lowest setting of 2 seconds (2s). Set the Number of shots to 7. Set the Interval between shots to the lowest setting of 0.5 seconds (0.5s). Exit the self-timer menu option. You haven’t told your camera to fire the series of shots yet; you've just done some more preliminary setup.
When you’re ready to fire off the series, rotate the Release Mode Dial (on top of the camera, on the left side) to the Self-timer setting (picture of a stopwatch). Press the release button, and wait 2 seconds for your series to fire in its entirety. Some people prefer this method because they don’t have to do all that clicking through the interval timer shooter. Personally I think this method is more of a hassle than method 1 above because if you want to use the self-timer to take pictures of yourself, you’ll probably want to change all of the settings you specified for shooting HDR. Also, this method involves rotating the release mode dial which is just one more control to have to remember to switch back when you aren't shooting HDR.
MANUAL BRACKETING


